
A free simple knitting pattern for a cute reversible owl bobble hat!


Materials:
3.5mm 20inch circular needles
3.5mm double pointed needles (DPNs)
Stitch markers
For the body- One skein of dk brown wool, a very small amount
of orange wool for the beak.
For the eyes- Three colours of wool, using very small
amounts (perfect for leftovers!)
For the pom-poms- Same colour as used for body, should be
some left from the first skein.

Skills needed:
Basic knit and purl stitches, simple decreases and increases.
Legend:
K= knit
P= purl
sm= slip marker
K2tog= knit two together
SSK= slip, slip then knit these two slipped stitches
together as one
KFB= Knit into the front of stitch, do not remove stitch
from needles instead knit again into the back of the stitch
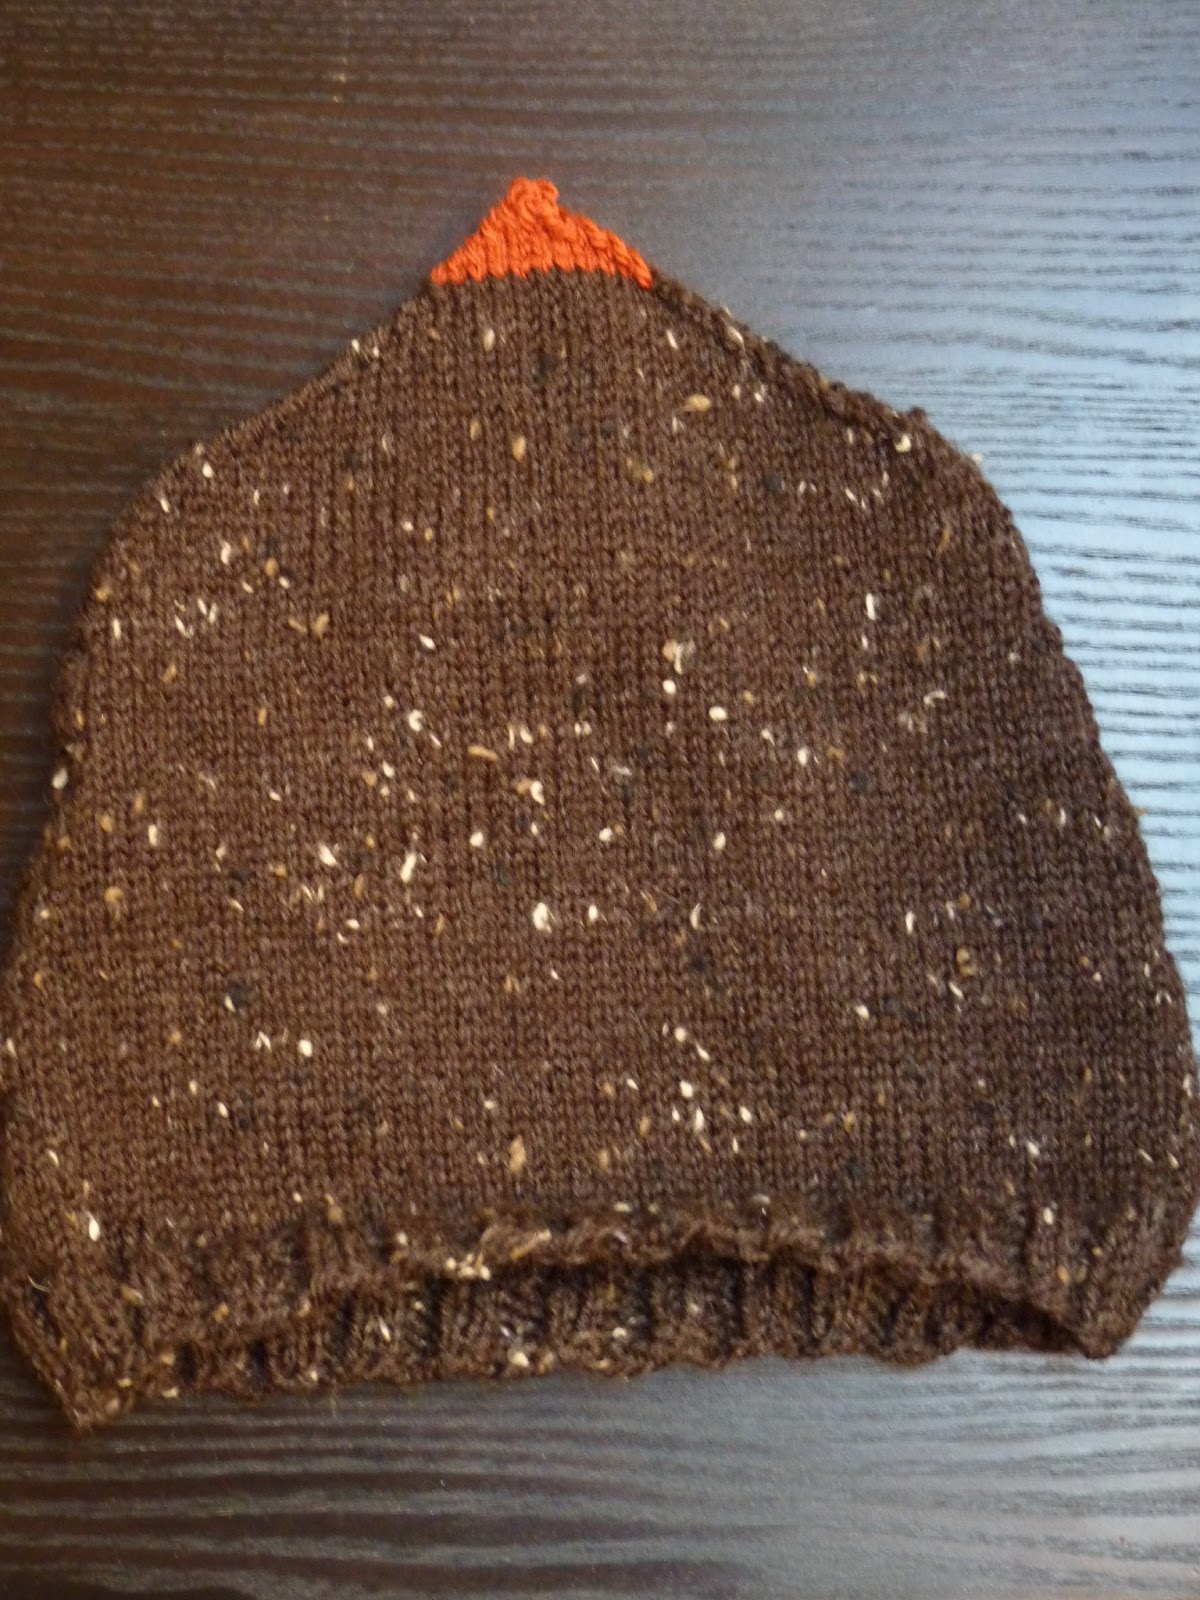
Main body of the hat.
Cast on 112 stitches, join for knitting in the round without
twisting.
Rows 1- 5: *K2, P2 repeat from*, placing marker at beginning
of round and after 56th stitch, or until ribbing measures desired
length .
Row 6: K13, P30, K13, K56 (112 stitches)
Rows 7- 17: K13, P30, K13, sm, K56
Row 18: K2tog, K13, P26, K13, SSK, sm, K2tog, K52, SSK (108 stitches)
Rows 19- 23: K14, P26, K14, sm, K54
Row 24: K2tog, K14,
P22, K14, SSK, sm, K2tog, K50, SSK (104
stitches)
Rows 25-29: K15, P22, K15, sm, K52
Row 30: K2tog, K15, P18, K15, SSK, sm, K2tog, K48, SSK (100 stitches)
Rows 31-35: K16, P18, K16, sm, K50
Row 36: K2tog, K15, P16, K15, SSK, sm, K2tog, K46, SSK (96 stitches)
Rows 37 and 38: K16, P16, K16, sm, K48
Row 39: K2tog, K14, P14, K14, SSK, sm, K2tog, K44, SSK (92 stitches)
Rows 40 and 41: K15, P14, K15, sm, K46
Row 42:K2tog, K15, P12, K15, SSK, sm, K2tog, K42, SSK (88 stitches)
Rows 43 and 44: K16, P12, K16, sm, K44
Row 45: K2tog, K40, SSK, sm, K2tog, K40, SSK (84 stitches)
Rows 46 and 47: K42, sm, K42
Row 48: K2tog, K38, SSK, sm, K2tog, K38, SSK (80 stitches)
Rows 49 and 50: K14, P12, K14, sm, K40
Row 51: K2tog, K13, P10, K13, SSK, sm, K2tog, K36, SSK (76 stitches)
Row 52: K14, P10, K14, sm, K38
Row 53: K2tog, K13, P8, K13, SSK, sm, K2tog, K34, SSK (72 stitches)
Row 54: K14, P8, K14, sm, K36
After this row, continue to decrease every row, K2tog after
markers and SSK before markers. Change to DPNs when needed (probably when down
to 56 total stitches).
When there are 24 stitches left, switch to colour for beak, and
carry on with decreases until only 4 stitches remain. Break yarn, leaving a
good 10cm tail. Thread through remaining stitches, and pull to cinch together, and
then weave in ends.

Eyes.
Awake Eyes:
Cast onto DPNs 9 stitches in black.
Row 1: *K1FB repeat from* (18 stitches)
Row 2: K18
Row 3: Switch to colour 2. *K1, K1fb repeat from *, K1 (27 stitches)
Row 4: Switch to colour 3. K27
Row 5: *K1, KFB repeat from *, K1 (40 stitches)
Row 6: Cast off, leaving a long tail.
Make 2 of these.
For Sleepy Eyes do the same as above, but without changing
colours at any point.

You will be left with a hole in the middle of your eyes, but you can easily close the hole in the centre of eyes with the tail left over
from cast-on.

Stitch the eyes on, using the tail from cast off.
For Sleepy Eye details, just stitch diagonally across the bottom of the eyes
with black wool.
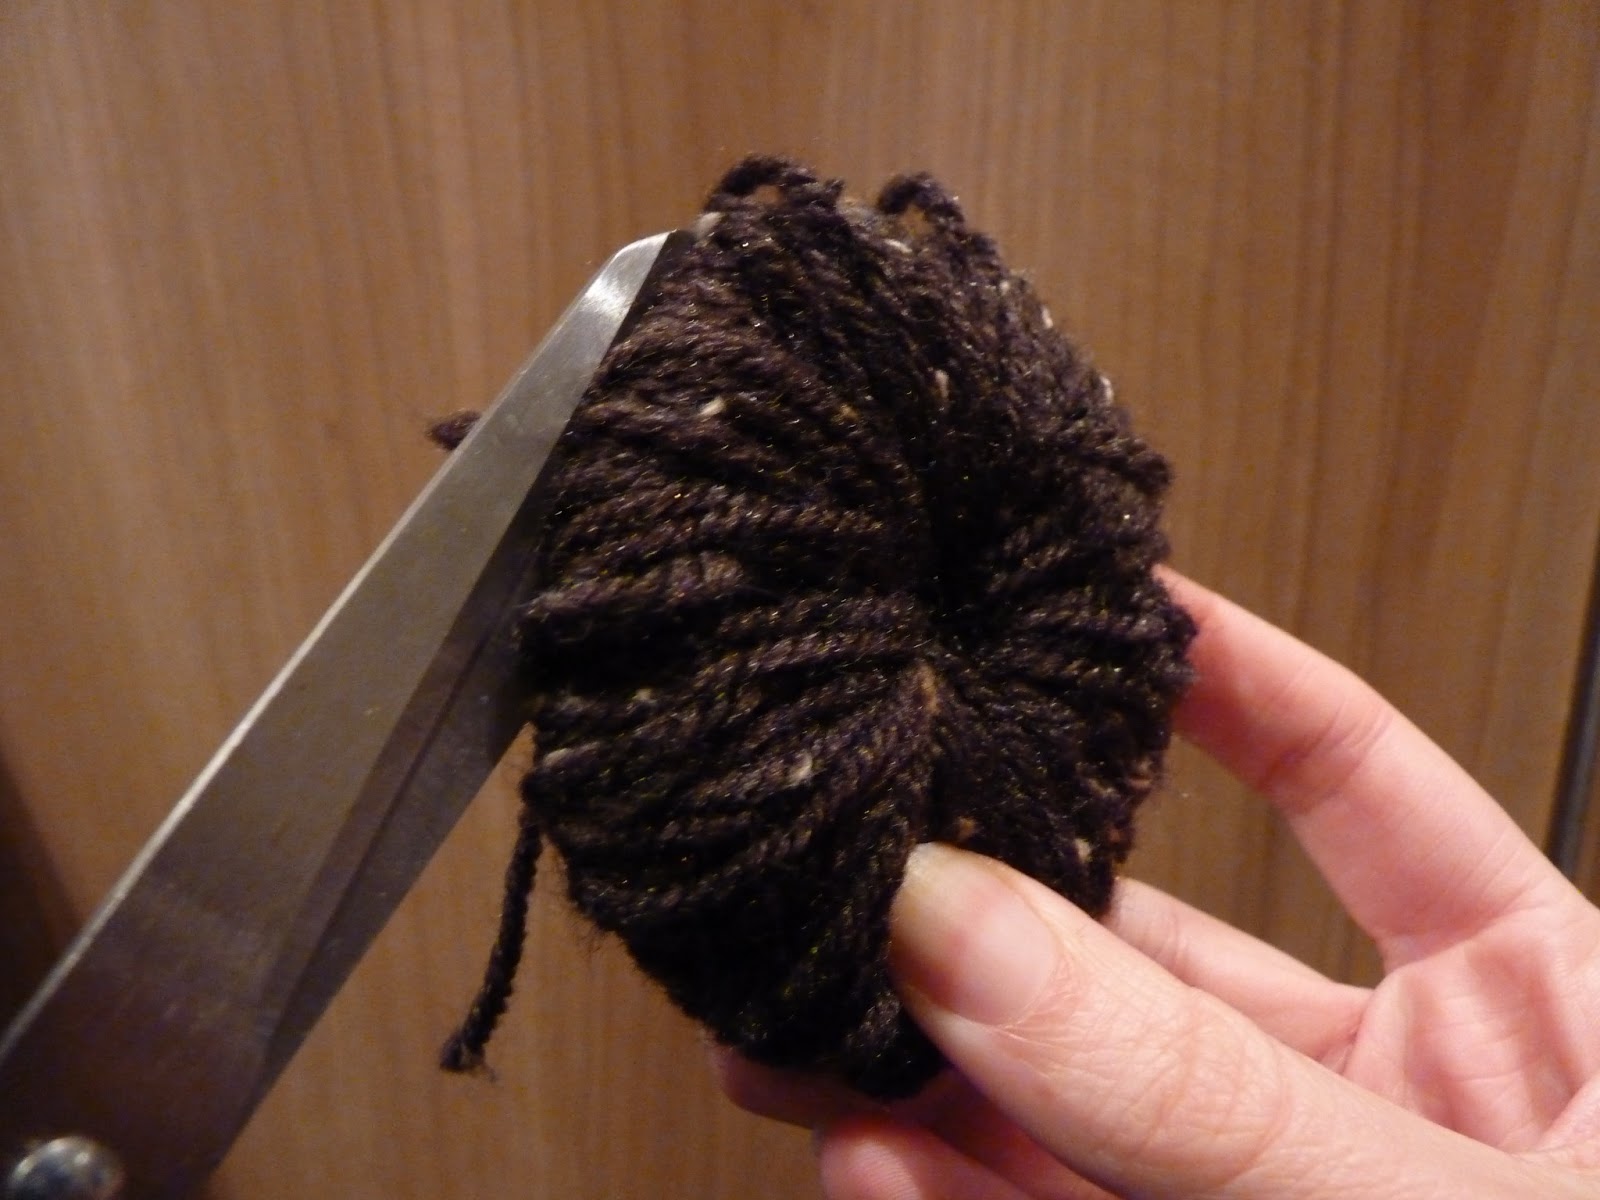
Pom poms.
Cut 4 circles out of cardboard, about the size of the bottom
of a pint glass. Cut a circle out of the middle (the bigger this inner circle
is, the thicker the pom pom will be), and then pair them up. Surround each pair
of circles with wool until you can no longer fit any more wool through the
centre hole.


Cut around the outer circle all the way around. Very
carefully tie a piece of wool around the centre to hold all the wool bits
together.

Stitch to the edges of your hat, so the beak can still be flapped over to change faces.
Finishing.
I stitched a tiny button onto each side of my hat, and then
stitched a little tiny loop off the end of the beak so I could decide which
face I wanted to show, sleepy or awake, without it flapping over without me
noticing.
I also stretched out my hat by fitting it over a colander
and dampened it with water, and then I left it overnight. This step is entirely
optional.

I really hope you enjoy making and wearing this little owl. Please let me know what you think.

Lots of love,
HanaLou
xxx
HanaLou
xxx

Hi Hanalou, nice to meet you in the shop today (Indigo Moon, Montgomery) - love your blog, cute owls. Also love your recipes, will try a few. take care tina x
ReplyDeleteThanks Tina! Really enjoyed talking to you last week, you're the first blogger I've met in real life :) As you an see I'm just trying to get this thing moving, I should probably pick whether to focus on crafty or foody, but I love them both! It's too hard. But I'm always snooping for inspiration so your blog is just perfect for that. Thanks again x
ReplyDeletelove this!
ReplyDeleteI am also new to google+/blog world :O